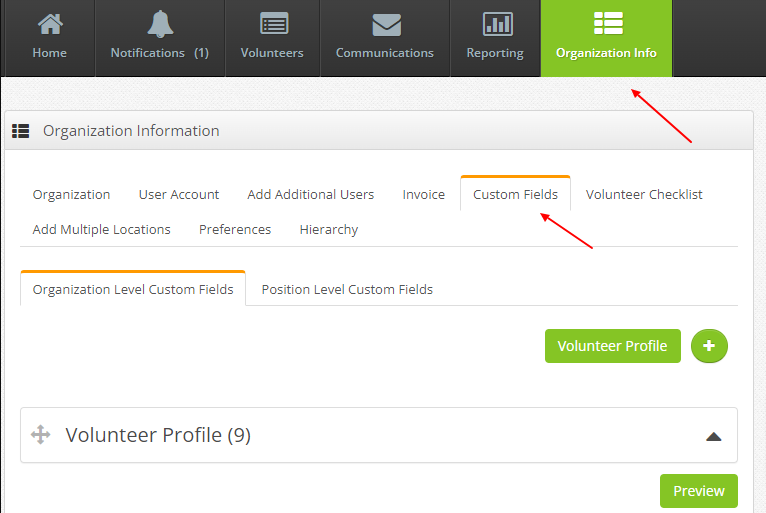
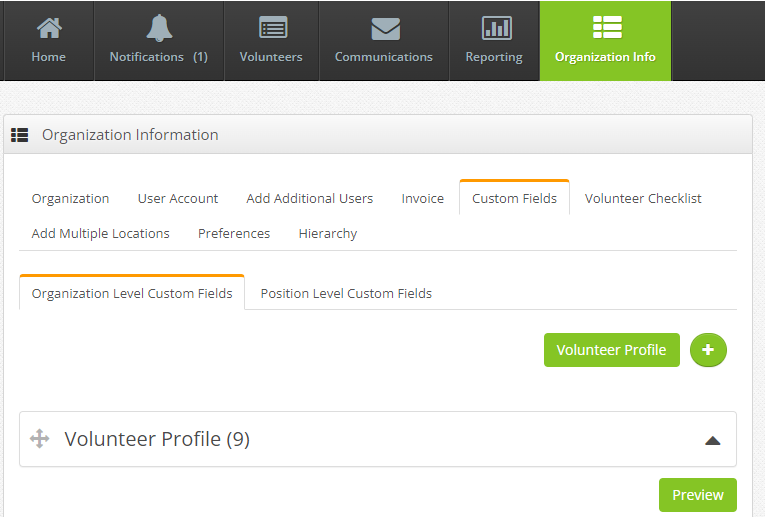
1. Click on ‘Custom Fields’ tab under the ‘Organization Info’ tab

2. The “Custom Fields” tab allows organizations to define the specific data they want to collect from users.
Two types of Custom Fields can be added-
- ‘Organization level’ custom fields- which will be displayed for all positions
- ‘Position level’ custom fields- which will be shown while creating new positions, allowing the user to select or unselect them.


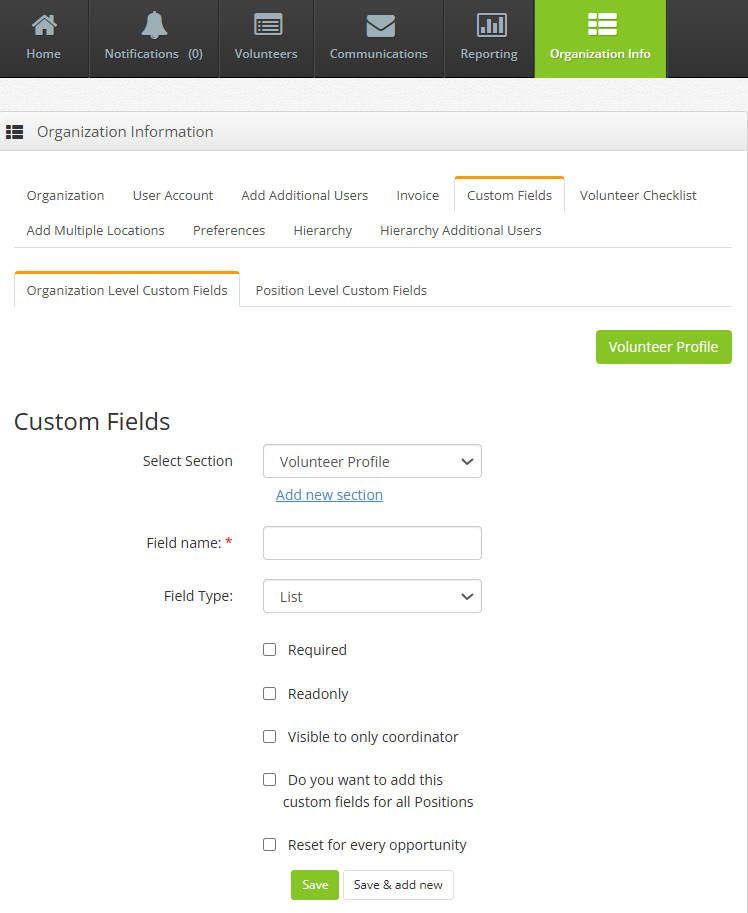
3. Fields:
Selection Section: Determines how the section field will appear on the volunteer page.
Field Name: Specifies the name of the field that users will fill out.
Field Type: Defines the type of input required for the field (e.g., text, date, etc.).
Field Values: Sets predefined values for the field, if applicable.
The following check-boxes offer additional customization options:
Required: Marks the field as mandatory for users to fill.
Read Only: Makes the field view-only, preventing users from editing it.
Visible to Only Coordinator: Ensures the field is visible only to coordinators.
Add This Custom Field for All Positions: Specifies whether the field should be displayed to the user by default, or if it needs to be selected when creating a position in order for it to appear to the user.”
Reset for Every Opportunity: Determines if the field needs to be filled out once or each time the user signs up for a new opportunity.
Section Name:
This represents a group or category of related fields in a form.
Example: “Personal Information,” “Employment Details,” “Education History”
Field Name:
The label or title of a specific input field.
Example:
Full Name, Email Address, Date of Birth
Field Type:
Defines the type of data a user can enter into a field.
| Field Type | Description | Example |
| List | A dropdown or predefined list of options | “Select your country” (India, USA, UK, etc.) |
| Text | A short input field for single-line text | “First Name” (John) |
| Text Area | A multi-line input for longer text | “Address” (House No. 12, Street Name, City) |
| Number | Allows only numeric input | “Age” (25) |
| Accepts only valid email addresses | “Email Address” ([email protected]) | |
| Checkbox | A single tick box (Yes/No selection) | “I agree to the terms and conditions” |
| Multiple Select | Allows users to select multiple options | “Skills” (Java, Flutter, Python) |
| Multiple Level Select | A nested selection (hierarchical) | “Category: Electronics → Mobile → iPhone” |
| File | Enables file upload | “Upload Resume” (PDF, DOC) |
| Radio Button | Allows selecting only one option from multiple choices | “Gender” (Male, Female, Other) |
| Date | Input field for selecting a date | “Date of Birth” (DD/MM/YYYY) |
| Date Time | Input field for selecting both date and time | “Appointment Date & Time” (15-Feb-2025 10:30 AM) |
| Consent | User agreement confirmation (checkbox with legal text) | “I agree to share my data with the
company” |
Field Values
The predefined options for a particular field type.
Example:
- Field Name: “Gender”
- Field Type: Radio Button
- Field Values: Male, Female, Other
